Adding a Second Node: OptiPlex 5060 Joins the Homelab
This is Part 4 of the homelab series. Part 1 covered Proxmox on the Wyse 5070 with AdGuard Home and Tailscale. Part 2 added Nginx Proxy Manager with wildcard TLS. Part 3 added Uptime Kuma, ntfy, and Homepage. If you haven’t done those, start there - this guide assumes all of that is running.
The Wyse has been great. Dead silent, sips power, runs 24/7 without breaking a sweat. But it’s a Pentium J5005 with 8GB of RAM - perfect for DNS, a reverse proxy, and monitoring, not so much for the things I want to run next. Workflow automation, AI agent frameworks, and local LLM inference need actual compute that the Wyse was never meant to provide.
So I picked up a Dell OptiPlex 5060 Micro. Same philosophy as the Wyse: enterprise cast-off, built for reliability, small footprint, but with a real i5 processor and 16GB of RAM. Enough headroom for actual workloads while the Wyse keeps doing what it’s good at.
This guide covers getting the 5060 running as a second Proxmox node and wiring it into the existing infrastructure. By the end, it shows up on your dashboard, gets monitored, has a clean HTTPS URL, and is ready for containers.
The Architecture
Here’s what the stack looks like after this writeup:
┌──────────────────────────────────────────────────────────────────┐
│  Dell Wyse 5070 - Proxmox VE (pve01)                              │
│  192.168.4.2                                                       │
│                                                                     │
│  ┌─────────────────────┐  ┌──────────────────────────────────────┐ │
│  │ CT 100 - AdGuard    │  │ CT 101 - Docker Services             │ │
│  │ + Unbound           │  │ 192.168.4.4                          │ │
│  │ 192.168.4.3         │  │                                      │ │
│  │ DNS :53             │  │ Nginx Proxy Manager  :80/:443        │ │
│  │ Dashboard :80       │  │ Uptime Kuma          :3001           │ │
│  │ Tailscale ✓         │  │ ntfy                 :8080           │ │
│  └─────────────────────┘  │ Homepage             :3000           │ │
│                            │ Tailscale ✓                          │ │
│                            └──────────────────────────────────────┘ │
│  Tailscale ✓ on host                                                │
├──────────────────────────────────────────────────────────────────┤
│  Dell OptiPlex 5060 - Proxmox VE (pve02)          ← NEW          │
│  192.168.4.6                                                       │
│                                                                     │
│  (Ready for containers - next writeups)                             │
│                                                                     │
│  Tailscale ✓ on host                                                │
└──────────────────────────────────────────────────────────────────┘
         │
    ┌────┴────┐
    │  eero   │  Router: 192.168.4.1
    │ Gateway │  DNS → 192.168.4.3 (primary)
    └─────────┘       → 192.168.4.118 (backup Pi-hole)
What’s new: A second Proxmox node joins the network. It doesn’t cluster with the Wyse - it runs independently with its own web UI. The Wyse’s existing infrastructure (NPM, Uptime Kuma, Homepage) extends to cover it. Same wildcard cert, same monitoring, same dashboard.
Why Not Cluster?
Proxmox supports clustering multiple nodes into a single management plane with live migration, high availability, and shared storage. Sounds great. Here’s why I’m not doing it:
Quorum requires three nodes. A two-node Proxmox cluster needs a quorum device (QDevice) running on a third machine to break ties during split-brain scenarios. Without it, if either node loses network connectivity to the other, both nodes fence themselves and stop running workloads. That’s worse than having two independent machines.
I don’t need live migration. Moving a running container from one node to another without downtime is the killer feature of clustering. But my services aren’t that sensitive. If I need to reboot the 5060, I can stop the containers, reboot, and start them again. Thirty seconds of downtime on an AI workflow engine isn’t an emergency.
Two independent nodes are simpler. Each node has its own web UI, its own storage, its own Tailscale connection. If the Wyse dies, the 5060 keeps running. If the 5060 dies, DNS and monitoring keep running on the Wyse. No shared failure modes, no cluster quorum to worry about.
If I add a third node later, clustering becomes worth revisiting. For now, standalone.
Prerequisites
Before starting, you need:
- Everything from Parts 1–3 working (Proxmox on the Wyse, AdGuard, NPM with wildcard cert, Uptime Kuma, Homepage)
- A Dell OptiPlex 5060 (or similar x86_64 machine with at least 16GB RAM)
- A USB drive (2GB+) flashed with the Proxmox VE ISO (same process as Part 1)
- A monitor and keyboard for the initial install
- An available static IP on your subnet (this guide uses
192.168.4.6) - About 45–60 minutes
Part 1: BIOS Configuration
The OptiPlex 5060 is a standard Dell business desktop, so the BIOS is more straightforward than the Wyse’s. Plug in a monitor, keyboard, and the Proxmox USB drive, then power on and spam F2 to enter BIOS Setup.
1.1 - Boot Sequence
Navigate to General → Boot Sequence:
- Make sure USB Storage is listed and moved to the top of the boot order
- Boot mode should be UEFI (not Legacy)
1.2 - Secure Boot
Navigate to Secure Boot → Secure Boot Enable:
- Uncheck Secure Boot - Proxmox’s installer isn’t signed for Secure Boot on all Dell hardware
1.3 - UEFI Boot Path Security
Navigate to Secure Boot → UEFI Boot Path Security:
- Set to Never
This defaults to “Always, except internal HDD” which can prompt for the BIOS admin password when booting from USB - blocking the Proxmox installer from starting. Set it to “Never” so the USB boots without a password gate. You can tighten this back up after Proxmox is installed if you want to lock down external boot later.
1.4 - Virtualization
Navigate to Virtualization Support:
- Intel Virtualization Technology (VT-x): Enable ✅
- VT for Direct I/O (VT-d): Enable ✅
VT-d isn’t strictly required for LXC containers, but you’ll want it if you ever pass through a GPU or NIC to a VM later.
1.5 - Wake on LAN
Navigate to Power Management → Wake on LAN/WLAN:
- Set to LAN Only
Don’t use “LAN with PXE Boot” - PXE makes the machine try to boot from the network every time it wakes, adding a delay before it falls through to the local disk. LAN Only wakes the machine and boots normally.
This is optional for now, but will be important in a future writeup when we set up Wake-on-LAN for GPU inference. Might as well enable it while we’re in here.
1.6 - Apply and Boot
Click Apply → Exit → the machine should restart and boot from the Proxmox USB.
Not booting from USB? Power off, then power on and press F12 for the one-time boot menu. Select your USB drive directly. If the USB doesn’t appear, double-check that USB boot is enabled in the boot sequence and that Secure Boot is off.
Part 2: Install Proxmox VE
The install is nearly identical to Part 1. The differences are the hostname, IP address, and target disk.
- Select Install Proxmox VE (Graphical)
- Accept the EULA
- Target disk: Select the 5060’s primary drive
- Click Options → choose ext4 for a single-disk setup. If the 5060 has multiple drives (some models have an M.2 slot plus a 2.5” bay), pick the faster one - usually the M.2 NVMe.
- Country/Timezone: United States, Eastern
- Password and email:
- Set a strong root password (can be different from pve01)
- Email:
admin@atilho.com
- Network configuration:
| Field | Value |
|---|---|
| Management Interface | Should auto-detect (e.g., eno1) |
| Hostname (FQDN) | pve02.lab.atilho.com |
| IP Address (CIDR) | 192.168.4.6/22 |
| Gateway | 192.168.4.1 |
| DNS Server | 192.168.4.3 |
Note the DNS difference from Part 1. When we installed Proxmox on the Wyse, AdGuard didn’t exist yet, so we pointed DNS at 1.1.1.1 temporarily. Now AdGuard is running on 192.168.4.3 - use it. The 5060 will have working DNS from first boot.
- Review the summary and click Install
Takes about 5–10 minutes depending on the drive speed. When it finishes, remove the USB and let it reboot.
First Boot
You’ll see:
Welcome to the Proxmox Virtual Environment

https://192.168.4.6:8006
Open that URL from any device on your network. Click through the self-signed cert warning.
Log in with:
- Username:
root - Password: what you set during install
- Realm: Linux PAM
Part 3: Post-Install Setup
Same steps as Part 1, just on a different machine.
3.1 - Remove the Subscription Nag
SSH into the 5060:
ssh root@192.168.4.6
sed -i.bak 's/Ext\.Msg\.show(/\/\/ Ext.Msg.show(/' /usr/share/javascript/proxmox-widget-toolkit/proxmoxlib.js && systemctl restart pveproxy.service
Clear your browser cache and log in again - popup gone.
3.2 - Switch to the Free Repository
# Disable enterprise PVE repo
sed -i 's/^[^#]/#&/' /etc/apt/sources.list.d/pve-enterprise.sources
# Disable enterprise Ceph repo
sed -i 's/^[^#]/#&/' /etc/apt/sources.list.d/ceph.sources
# Create the free no-subscription PVE repo
cat > /etc/apt/sources.list.d/pve-no-subscription.sources << 'EOF'
Types: deb
URIs: http://download.proxmox.com/debian/pve
Suites: trixie
Components: pve-no-subscription
Signed-By: /usr/share/keyrings/proxmox-archive-keyring.gpg
EOF
# Create the free no-subscription Ceph repo
cat > /etc/apt/sources.list.d/ceph-no-subscription.sources << 'EOF'
Types: deb
URIs: http://download.proxmox.com/debian/ceph-squid
Suites: trixie
Components: no-subscription
Signed-By: /usr/share/keyrings/proxmox-archive-keyring.gpg
EOF
apt update && apt full-upgrade -y
Reboot:
reboot
Verify the web GUI loads at https://192.168.4.6:8006 after reboot.
3.3 - Download a Container Template
You’ll need a base OS template for future containers. In the Proxmox web GUI:
- Expand pve02 in the left sidebar → click local (pve02)
- Click CT Templates → Templates
- Search for
debian-13-standard→ click Download
This downloads the same Debian 13 template you used on pve01. It’ll be ready when you create your first container.
Part 4: Install Tailscale on the Host
Unlike pve01 where Tailscale runs inside individual containers, pve02 gets Tailscale directly on the Proxmox host. This gives you remote access to the web GUI and lets containers you create later inherit the Tailscale connection.
4.1 - Install
SSH into pve02:
ssh root@192.168.4.6
curl -fsSL https://tailscale.com/install.sh | sh
tailscale up --hostname=pve02
Open the auth URL it prints, log into Tailscale, and authorize the device.
4.2 - Verify
tailscale status
You should see pve02 in the list alongside your other Tailscale devices (pve01, adguard-home, etc.).
From your phone or laptop on Tailscale, verify you can reach the 5060’s web GUI via its Tailscale IP:
https://100.x.x.x:8006
(Replace 100.x.x.x with the Tailscale IP from tailscale ip -4.)
Part 5: Create a Homepage API Token
The Homepage dashboard on the Wyse needs an API token to pull stats from pve02 - same pattern as pve01.
5.1 - Create the User
In the pve02 web GUI:
- Go to Datacenter → Permissions → Users → Add
- User name:
homepage - Realm:
Linux PAM standard authentication - Click Add
5.2 - Assign Read-Only Permissions
- Go to Permissions → click Add → User Permission
- Path:
/ - User:
homepage@pam - Role:
PVEAuditor - Propagate: ✅
- Click Add
5.3 - Create the API Token
- Go to Permissions → API Tokens → Add
- User:
homepage@pam - Token ID:
homepage - Privilege Separation: Uncheck this
- Click Add
Copy the token secret immediately. It’s only shown once. It’ll look something like a1b2c3d4-e5f6-7890-abcd-ef1234567890.
Why the same user/token setup as pve01? Consistency. The Homepage config will have two Proxmox widgets side by side, both using
homepage@pam!homepageas the username format. The only differences are the URL and the token secret. Makes the config easy to read.
Part 6: Add the Proxy Host in NPM
The 5060’s Proxmox web UI should be accessible at pve02.lab.atilho.com - same wildcard cert, same pattern as every other service.
6.1 - Add a DNS Rewrite (If Needed)
If you set up the wildcard DNS rewrite in Part 2 (*.lab.atilho.com → 192.168.4.4), you’re already covered - any subdomain of lab.atilho.com already resolves to NPM. Skip to 6.2.
If you’re adding individual DNS rewrites instead, open AdGuard Home at https://adguard.lab.atilho.com:
- Go to Filters → DNS rewrites
- Add:
pve02.lab.atilho.com→192.168.4.4
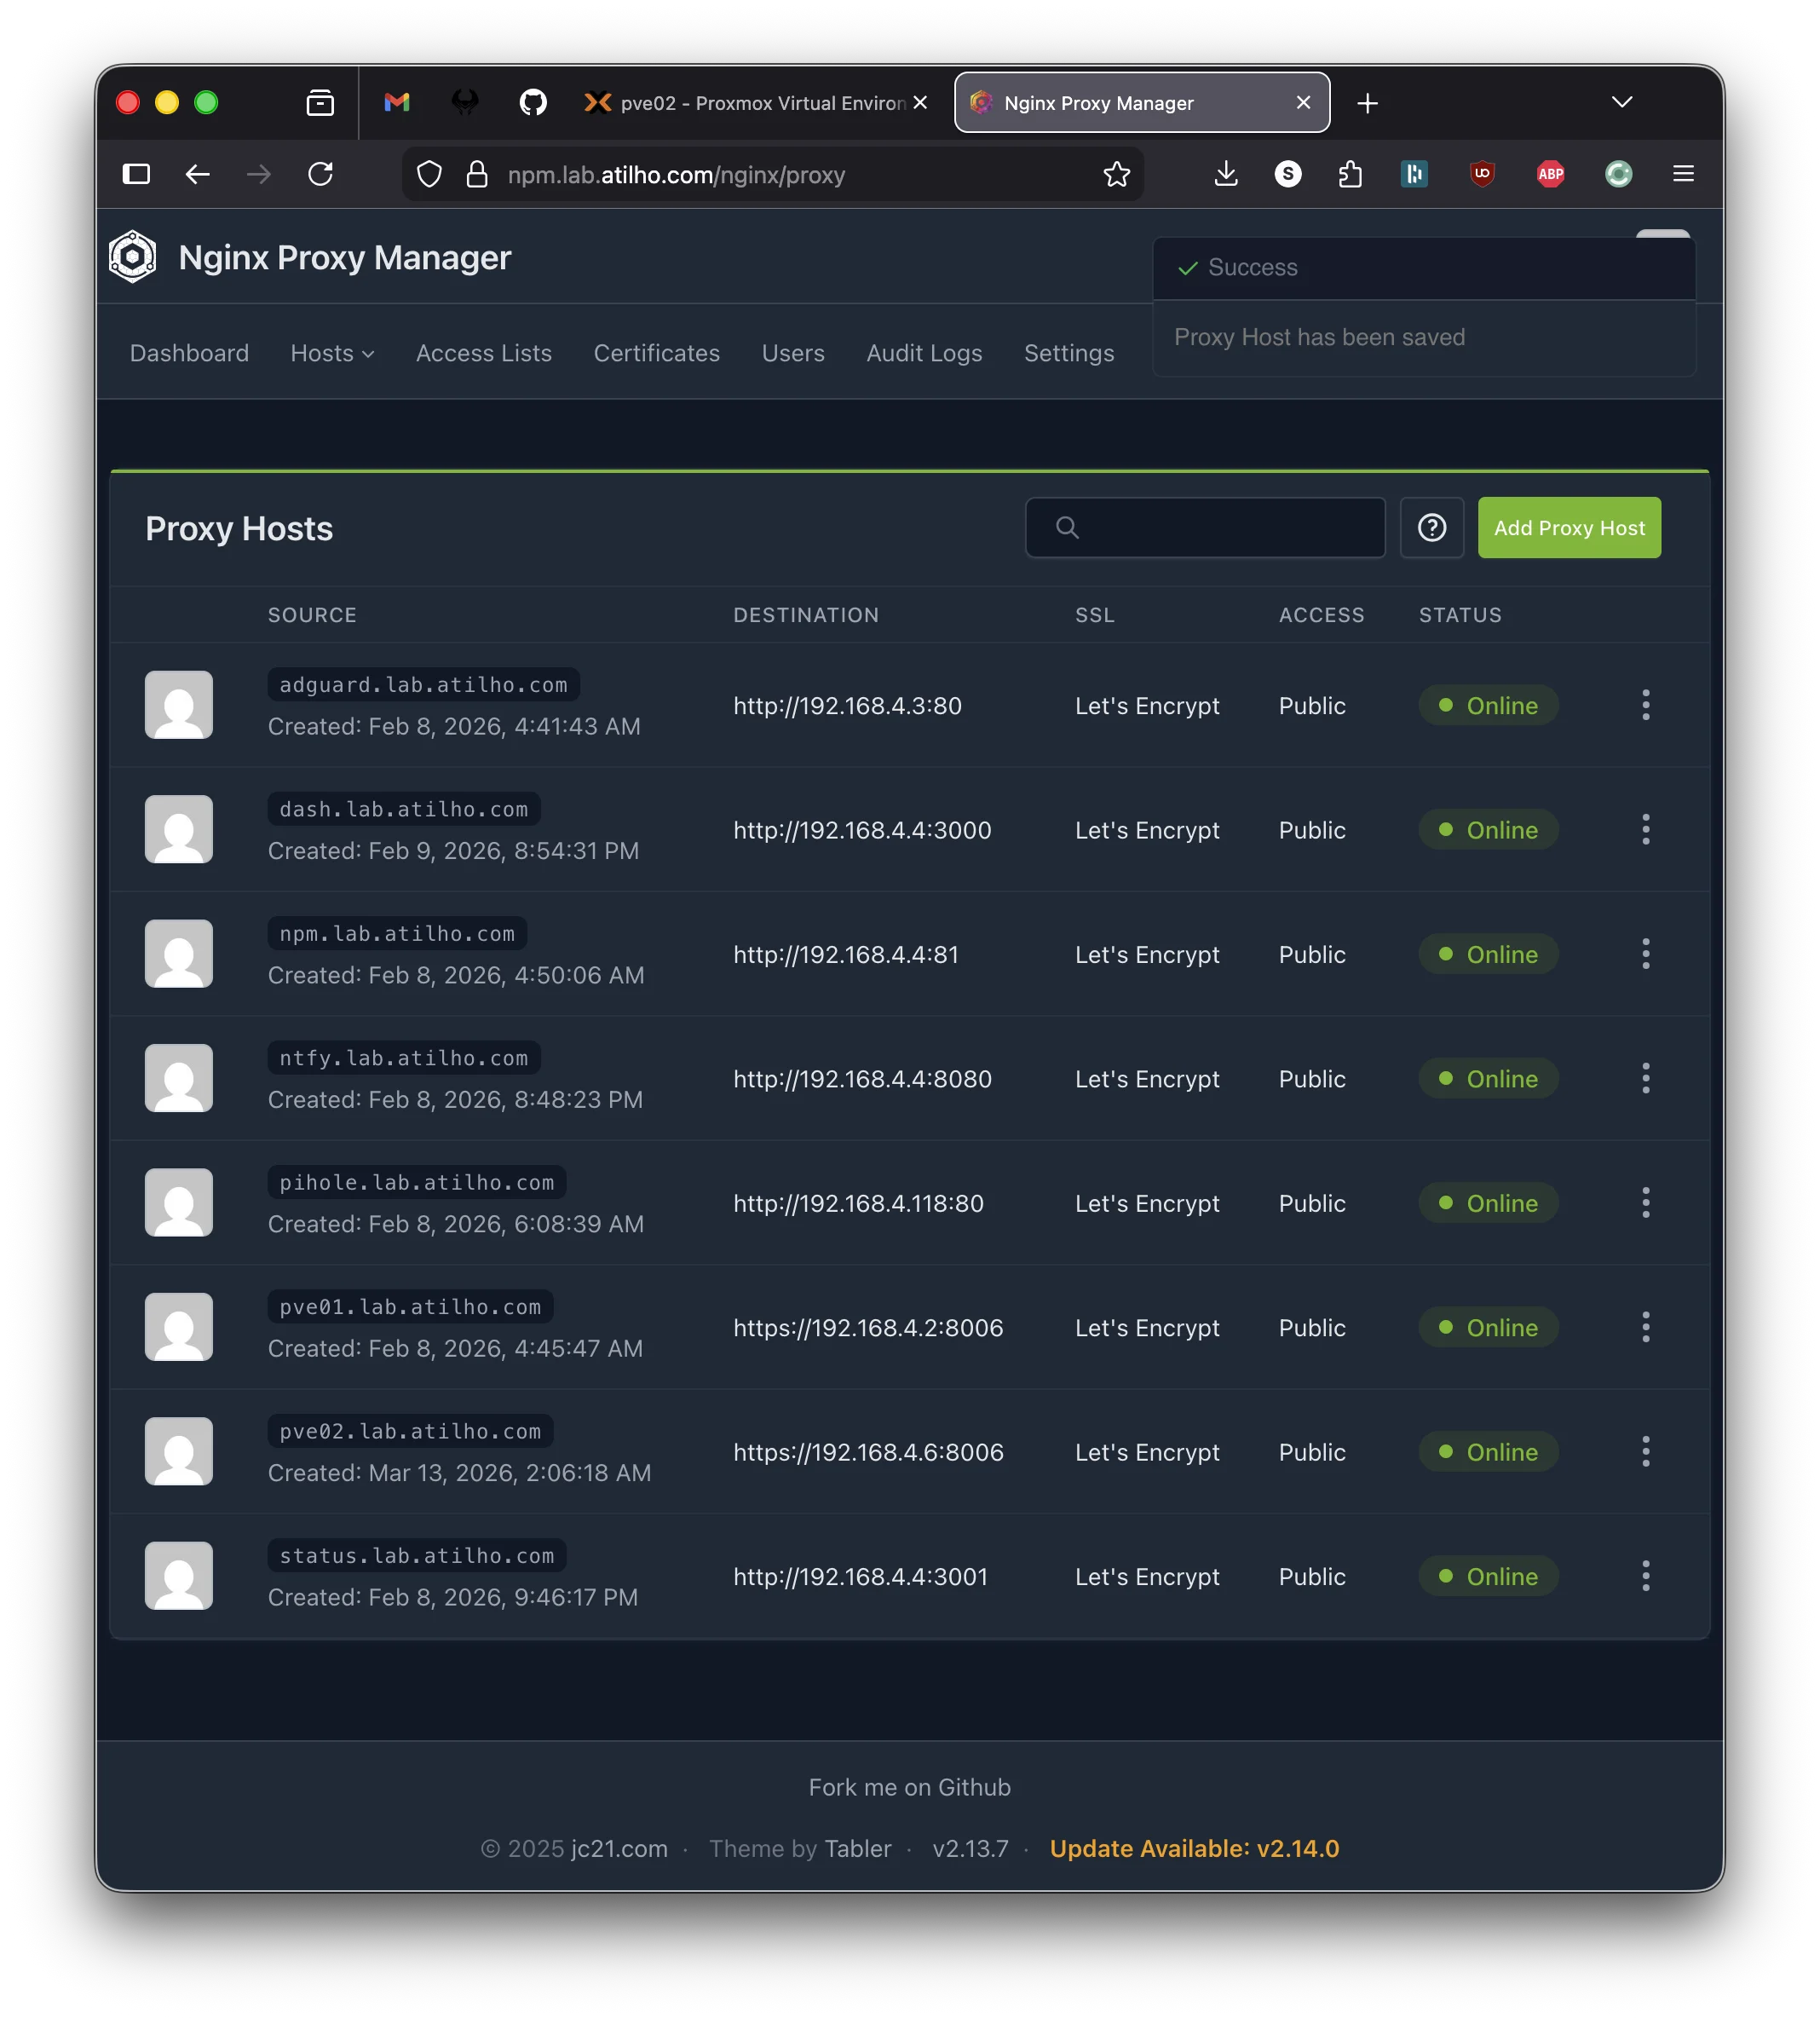
6.2 - Create the Proxy Host
Open NPM at https://npm.lab.atilho.com:
- Go to Hosts → Proxy Hosts → Add Proxy Host
- Details tab:
| Field | Value |
|---|---|
| Domain Names | pve02.lab.atilho.com |
| Scheme | https |
| Forward Hostname / IP | 192.168.4.6 |
| Forward Port | 8006 |
| Block Common Exploits | ✅ |
| Websockets Support | ✅ |
Note the scheme is https, not http. Proxmox serves its web UI over HTTPS with a self-signed cert. NPM needs to connect to it via HTTPS and then re-terminate with the real wildcard cert.
- SSL tab:
| Field | Value |
|---|---|
| SSL Certificate | Select the *.lab.atilho.com cert |
| Force SSL | ✅ |
| HTTP/2 Support | ✅ |
- Click Save
Test it: Open https://pve02.lab.atilho.com in your browser. You should see the pve02 login page with a valid Let’s Encrypt cert - no self-signed warning.
Part 7: Add Monitoring
Uptime Kuma on the Wyse should watch pve02 just like it watches everything else.
7.1 - Add the Proxmox Monitor
Open Uptime Kuma at https://status.lab.atilho.com:
- Click + Add New Monitor
- Fill in:
| Field | Value |
|---|---|
| Monitor Type | HTTP(s) |
| Friendly Name | Proxmox (pve02) |
| URL | https://192.168.4.6:8006 |
| Heartbeat Interval | 60 seconds |
| Retries | 2 |
| Accepted Status Codes | 200-299 |
- Under Advanced → toggle Ignore TLS/SSL errors to ON (self-signed cert, same as pve01)
- Under Notifications → make sure your notification channels are checked (ntfy, Telegram, or both)
- Click Save
The monitor should go green within 60 seconds.
7.2 - Add to the Status Page
- Go to Status Pages → click your default status page → Edit
- Add the new
Proxmox (pve02)monitor to the page - Click Save
This ensures the Homepage widget picks up the new monitor count.
Part 8: Update the Homepage Dashboard
Homepage needs to know about pve02 - both the widget showing stats and the service card linking to it.
8.1 - Add the Environment Variable
SSH into CT 101 on the Wyse and edit the Homepage docker-compose:
ssh root@192.168.4.4
cd /opt/homepage
nano docker-compose.yml
Add these two environment variables alongside the existing Proxmox ones:
      HOMEPAGE_VAR_PROXMOX2_URL: https://192.168.4.6:8006
      HOMEPAGE_VAR_PROXMOX2_PASS: YOUR_PVE02_API_TOKEN_SECRET
Replace YOUR_PVE02_API_TOKEN_SECRET with the token you copied in Part 5.
Why reuse
HOMEPAGE_VAR_PROXMOX_USER? Both nodes use the samehomepage@pam!homepageusername format. You only need one user env var - the URLs and token secrets are what differ.
8.2 - Update services.yaml
nano /opt/homepage/config/services.yaml
Find the Infrastructure section and add pve02 alongside pve01:
- Infrastructure:
    - Proxmox (pve01):
        icon: proxmox
        href: https://pve01.lab.atilho.com
        description: Wyse 5070 - Node 1
        widget:
          type: proxmox
          url:
          username:
          password:
          node: pve01
    - Proxmox (pve02):
        icon: proxmox
        href: https://pve02.lab.atilho.com
        description: OptiPlex 5060 - Node 2
        widget:
          type: proxmox
          url:
          username:
          password:
          node: pve02
    - AdGuard Home:
        ...
The rest of the Infrastructure section stays the same. You’re just adding a second Proxmox card and renaming the first one to clarify which node is which.
Heads up: Adding a second Proxmox card to a 4-column row means something gets bumped. You might want to adjust the layout in
settings.yaml- either increase Infrastructure tocolumns: 5, move one service to a different section, or switch tostyle: columnfor a vertical layout. Play with it and see what looks good on your screen.
8.3 - Restart Homepage
cd /opt/homepage
docker compose down && docker compose up -d
Open https://dash.lab.atilho.com. You should see both Proxmox nodes with live stats - VMs, LXCs, CPU, and memory for each.
Part 9: Verify the Full Stack
Let’s make sure everything is wired up correctly.
9.1 - Check Remote Access
From your phone on cellular (Tailscale active), open:
https://pve02.lab.atilho.com- Proxmox GUI, valid cert, no warningshttps://dash.lab.atilho.com- both nodes showing statshttps://status.lab.atilho.com- pve02 monitor green
All three should work over Tailscale. No new DNS or Tailscale config needed - the wildcard DNS rewrite and existing subnet route already cover any new *.lab.atilho.com hostname.
9.2 - Test the Alert Chain
Same drill as Part 3 - let’s confirm Uptime Kuma catches a pve02 outage.
From the pve02 console or SSH:
systemctl stop pveproxy
Within 60 seconds, Uptime Kuma should detect pve02 is down and fire notifications. Your phone should buzz.
Bring it back:
systemctl start pveproxy
You should get a recovery notification. If you used pct stop/pct start for the Part 3 test, note that this time we’re testing the Proxmox web service itself, not a container - so we stop the pveproxy service directly instead.
Part 10: Container Housekeeping
10.1 - Check Disk Usage
df -h /
Note how much space you have. The 5060 likely has a larger drive than the Wyse’s 64GB SSD, so you should have plenty of room. Check anyway - you want to know your baseline before adding containers.
10.2 - Take a Snapshot
There’s nothing to snapshot on pve02 yet - no containers have been created. But it’s worth noting the Proxmox host state so you have a known-good baseline.
On the Wyse side, take a snapshot of CT 101 since we modified Homepage’s docker-compose and services.yaml:
CT 101: post-pve02-integration
Troubleshooting
Can’t reach pve02 at 192.168.4.6?
From another machine on the same network:
ping 192.168.4.6
If it doesn’t respond, check that the IP was set correctly during install. Plug a monitor into the 5060 and check:
ip addr show
If the IP is wrong, edit /etc/network/interfaces and restart networking.
Proxmox GUI won’t load through NPM?
Make sure the proxy host scheme is https (not http). Proxmox serves on HTTPS with a self-signed cert - NPM needs to connect via HTTPS. Also verify Websockets Support is enabled in the proxy host settings, or the noVNC console won’t work.
Homepage shows “Error” for pve02 widget?
Check the usual suspects:
- Is the token secret correct? Copy-paste errors are the most common issue.
- Is the env var name in docker-compose exactly
HOMEPAGE_VAR_PROXMOX2_PASS? - Does services.yaml reference `` (matching the env var name)?
- Did you restart Homepage after editing docker-compose? (
docker compose down && docker compose up -d, not justrestart)
Verify from inside the Homepage container:
docker compose exec homepage env | grep PROXMOX2
If the variable is empty or missing, the issue is in docker-compose.yml.
Uptime Kuma shows pve02 as down but it’s actually running?
Make sure you toggled Ignore TLS/SSL errors in the monitor’s advanced settings. Proxmox uses a self-signed cert - without this toggle, Uptime Kuma rejects the TLS handshake and reports it as down.
Tailscale can’t reach pve02 remotely?
Verify Tailscale is running on the 5060:
tailscale status
If it’s not connected, try:
tailscale up --hostname=pve02
Also confirm the pve01 subnet route is still active - pve02 is on 192.168.4.6, which falls within the 192.168.4.0/22 subnet route that pve01 advertises. No new routes needed.
Maintenance Cheatsheet
| Task | Command / Location |
|---|---|
| pve02 dashboard | https://pve02.lab.atilho.com |
| SSH to pve02 | ssh root@192.168.4.6 |
| Check Tailscale status | tailscale status (on pve02) |
| Update pve02 | apt update && apt full-upgrade -y && reboot |
| Homepage dashboard | https://dash.lab.atilho.com |
| Uptime Kuma | https://status.lab.atilho.com |
| Edit Homepage config | nano /opt/homepage/config/services.yaml (on CT 101) |
| Restart Homepage | cd /opt/homepage && docker compose down && docker compose up -d |
| Snapshot CT 101 | Proxmox GUI (pve01) → CT 101 → Snapshots → Take Snapshot |
What’s Running Now
| Layer | Service | Internal Access | HTTPS Access |
|---|---|---|---|
| Hypervisor | Proxmox VE (pve01) | 192.168.4.2:8006 |
https://pve01.lab.atilho.com |
| Hypervisor | Proxmox VE (pve02) | 192.168.4.6:8006 |
https://pve02.lab.atilho.com |
| CT 100 | AdGuard + Unbound | 192.168.4.3:80 |
https://adguard.lab.atilho.com |
| CT 101 | Nginx Proxy Manager | 192.168.4.4:81 |
https://npm.lab.atilho.com |
| CT 101 | Uptime Kuma | 192.168.4.4:3001 |
https://status.lab.atilho.com |
| CT 101 | ntfy | 192.168.4.4:8080 |
https://ntfy.lab.atilho.com |
| CT 101 | Homepage | 192.168.4.4:3000 |
https://dash.lab.atilho.com |
| Raspberry Pi | Pi-hole + Unbound | 192.168.4.118:80 |
https://pihole.lab.atilho.com |
| Tailscale | All services on tailnet | 100.x.x.x |
Same HTTPS URLs remotely |
Two nodes, eight proxy hosts, six monitors, one dashboard. The Wyse handles the infrastructure plumbing - DNS, proxy, monitoring, notifications. The 5060 sits ready with 16GB of RAM and nothing running on it yet. That’s about to change.
What’s next: The 5060’s first real workload - a GPU bridge that lets the homelab wake my desktop PC on demand for local AI inference, controlled entirely through Telegram. That’s Part 5.